
Last Updated / Reviewed: March 2nd, 2021
Execution Time: ~5-10 minutes
Goal: Verifying your domain in Facebook Business Manager.
Ideal Outcome: Facebook is able to correctly verify ownership of your site.
Prerequisites or requirements: You should have created a Business Manager account for your site (you can follow SOP 010 to learn how to do that). Plus, you’ll need to have access to your domain registrar (e.g. GoDaddy, Google Domains, Dreamhost, Siteground, Cloudflare, etc)
Why this is important: Several reasons, the main one is related to the Facebook updates related to the release of iOS 14. Facebook Ads will now only allow up to track 8 conversion events to be configured per domain — before you configure those events, you’ll need to verify your domain.
Where this is done: In Facebook Business Manager, and in your domain registrar.
When this is done: Before you run any Facebook Ad campaigns.
Who does this: The person responsible for Facebook Ads.
________________________________________
Add your domain to Business Manager
1. Go to your Facebook Business Manager dashboard and click on the account you want to work on.
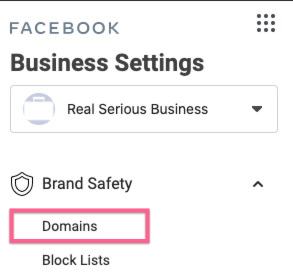
2. Click on “Business Settings”
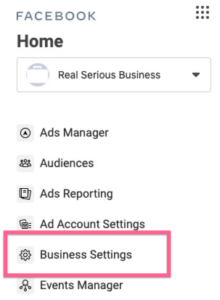
3. Under “Brand Safety”, click “Domains”
4. If this is your first time verifying a domain for this Business Manager account, you’ll need to add the domain.
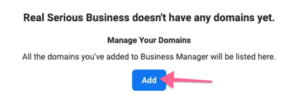
5. Write your domain URL and click “Add Domain”

6. You’ll be presented with 3 options to verify your domain. In this SOP, we’ll DNS verification
DNS Verification
1. On Business Manager, select DNS Verification as the method to verify your domain

2. Copy the TXT verification record provided by Facebook

3. Go to your domain registrar dashboard or admin panel.
4. Go to your DNS records section. In some registrars, this is under a “Domains” or “Manage domains” menu or link.
Example: Dreamhost

Example: Siteground

5. Create a new custom record (this will look slightly different depending on your registrar, but these are the general steps)
a. Leave the “Name” field blank
b. Select a TXT record “Type”
c. Leave the default “TTL” value
d. Under “Value” paste the record you copied from Facebook Ads
Example: Dreamhost

Example: Siteground

6. Once you’ve added your record, go back to Business Manager and click “Verify”

a. Note: DNS records can take up to 48-72 hours to propagate. Don’t worry if Facebook can’t verify your domain right away. Come back a day later and try hitting the “Verify” button again.
7. After the DNS changes have propagated, you’ll receive a confirmation after clicking “Verify”

Associate your Facebook Page to the verified domain
1. Refresh the page after verifying your domain and click on “Connected Assets”

2. Click on “Add Assets”

3. Select the appropriate Facebook Page and click “Add”
