Last Updated / Reviewed: July 24th, 2020
Execution Time: 10-15 minutes
Goal: To create a Business Manager account and Facebook Ad Account for your business.
Ideal Outcome: You will have a Business Manager account ready to manage all your Facebook Assets and share them with your employees securely. You will have created your Facebook Ad Account and set your Payment Method.
Pre-requisites or requirements: You will need a personal Facebook account.
Why this is important: Facebook’s Business Manager allows you to easily manage multiple pages and ad accounts, while also being able to safely assign roles to your employees or contractors. Your Facebook Ad account will allow you to set up your first campaigns promoting yourself to the 2 billion active Facebook users worldwide.
Where this is done: In Facebook’s Business Manager.
When this is done: The first time you are creating a Business Manager account.
Who does this: The business owner or the person responsible for paid advertising on his behalf.
________________________________________
𝤿 Create a Business Manager Account
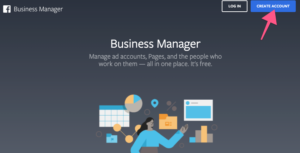
1. Go to https://business.facebook.com in your browser.
2. Click in “Create Account” on the top right corner.
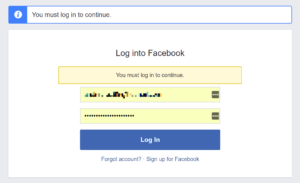
3. If you are not logged in to your personal Facebook account you’ll be asked to log in:
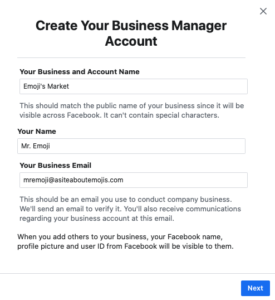
4. You are now creating your Business Manager Account:
a. Enter your Business name.
i. Note: This name is visible to your employees or other people that you allow managing your assets.
b. Press Continue, and enter your name and your business email, and click “Next”.
c. Add your Business Details and select whether you are creating this account to promote your own goods or services or to provide services to other businesses (if you are an agency that will advertise for other businesses you’ll pick the latter)

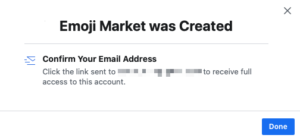
d. Your Business Manager is now created! Click the link you received on your email to confirm your account.
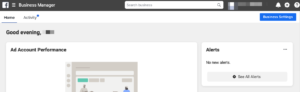
e. You will be taken to your Business Manager Home page:
𝤿 Create an Ad Account on Business Manager
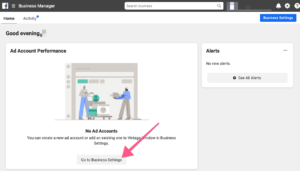
1. In your Business Manager Home page click on “Go to Business Settings”:
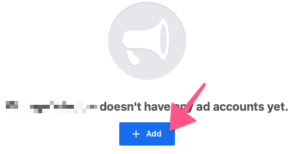
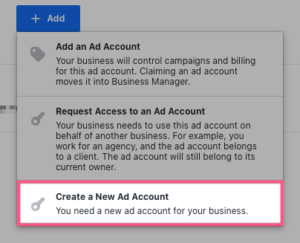
2. Click on “+Add”:
3. Click “Create a New Ad Account”
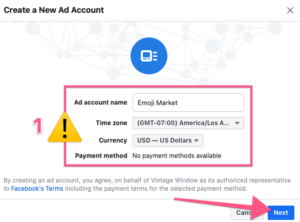
4. Insert the details for your new Ad Account:
a. Note: Pay attention to the currency you want to be used for your account as you can not edit this in the future. You can always create a new Ad Account If you want to do so.
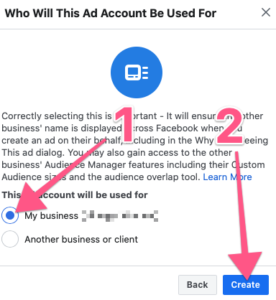
5. Select whether you are creating this Ad Account for your business, or to advertise on behalf of another business.
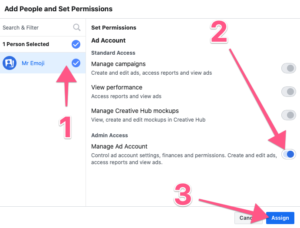
6. You will now be prompted to assign people to your Ad Account, for now, you will only add yourself.
a. In the future, you might want to add employees or contractors to that Ad account as well.
7. Your ad account has been created! If you don’t have a Payment Method set up you will want to do it now:
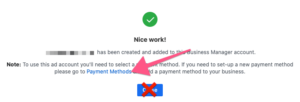
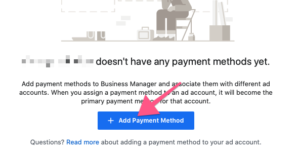
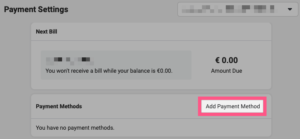
8. Click on “Add a Payment Method”:
9. Click on “Select an Ad Account and use Ads Manager to change its primary payment method” (If you don’t see the menu below refresh your browser):
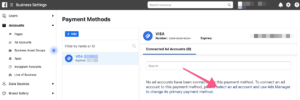
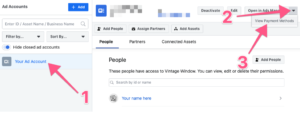
10. Select the Ad Account you just created (first column) click the dropdown icon in the top right corner, and click “View Payment Methods”:
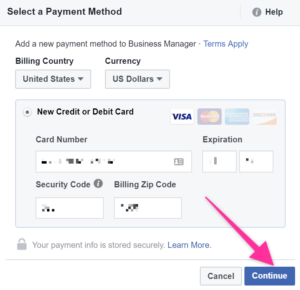
11. Click on “Add Payment Method”
12. Select “Payment Method from Business Manager”:
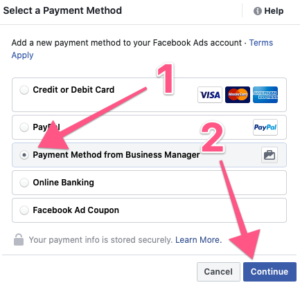
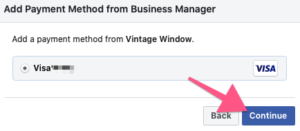
13. You will be prompted to select from a list of payments you have set up on Business Manager. Select the one you want to use for this account and press “Continue” followed by “Make Primary”.
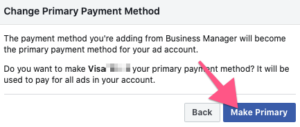
14. You will see a message appear on the top confirming your Payment Method was added to your Ad account:
![]()
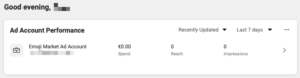
15. That’s it! If you now go to your Business Manager Home page you should now be able to see your new Facebook Ad Account: