Transcription #
Introduction #
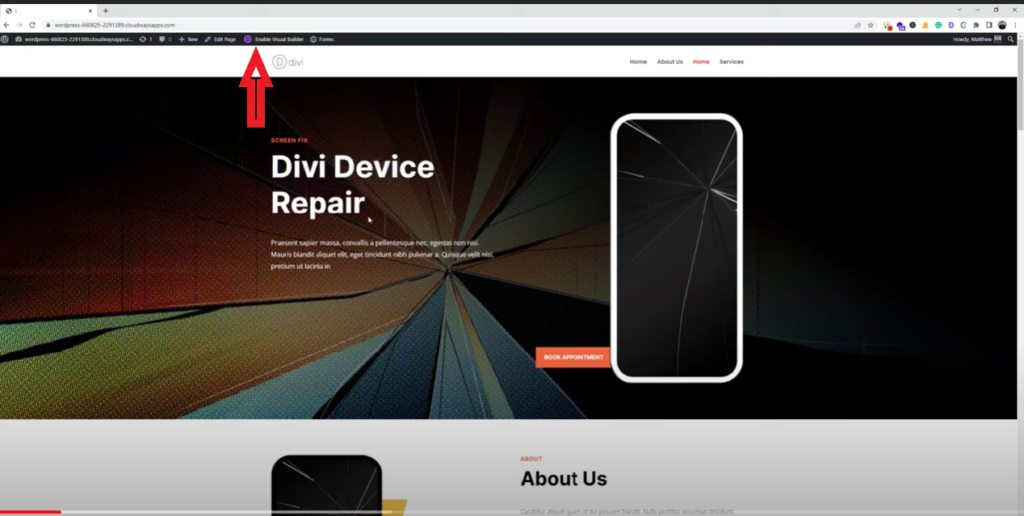
In the last video, we looked at how to edit a content page, or specifically how to edit the text on a page, such as the total here, here and here.In This video I’m going to look at images and how to replace images or how to just move them and manipulate an image. So I’m going to just start where we were.
Enabling the Visual Builder #
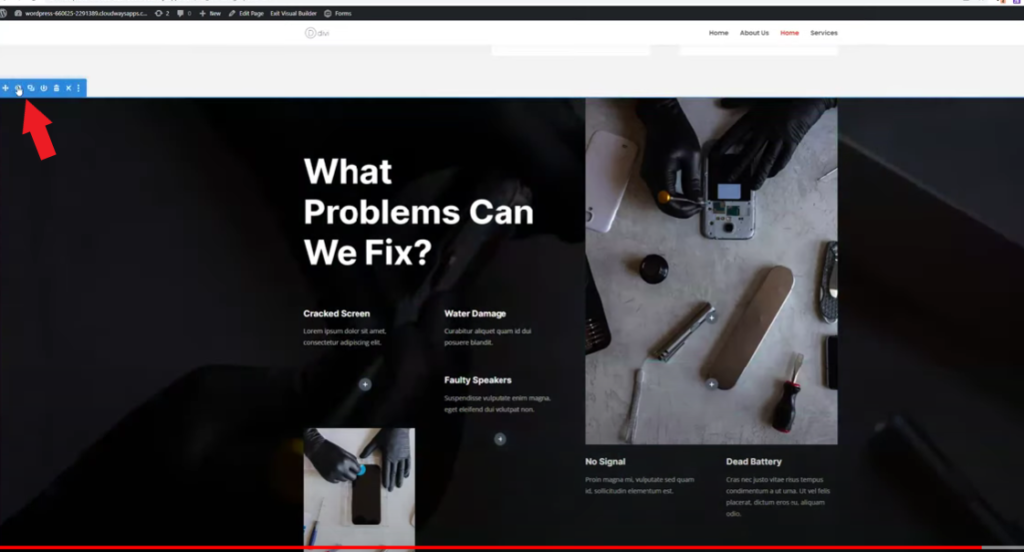
We’re going to enable the Visual Builder back on the same page here. It’s going to reload the page and we’ve got all these sections, rows, and modules. So, we’re going to be hovering over the image we want to replace.
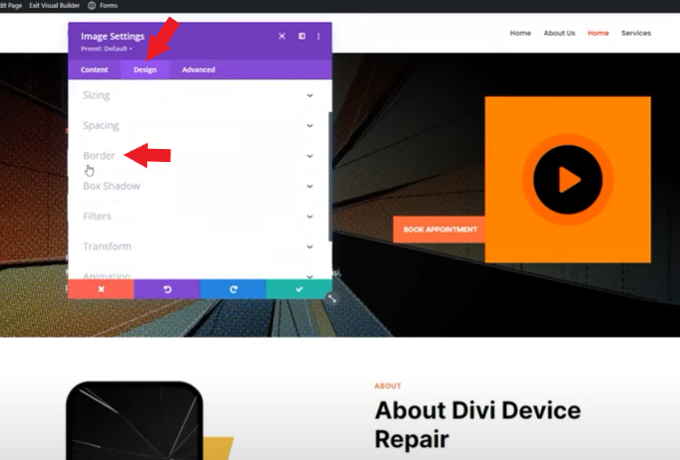
We’re going to click on it and you can see how this gray box comes up around it. And we’re going to click on the cog.
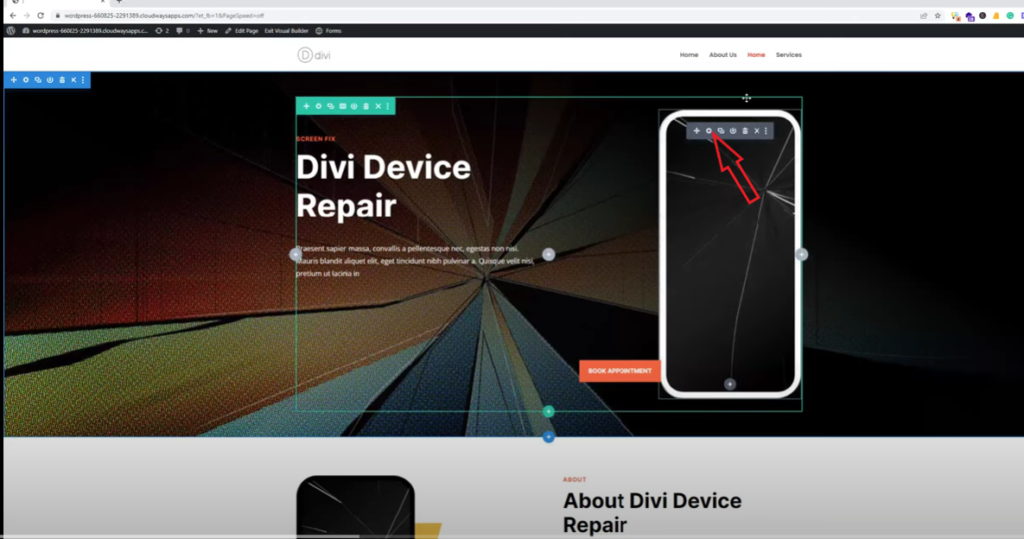
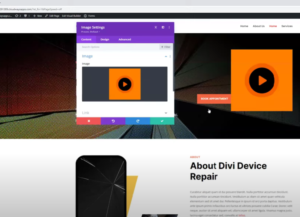
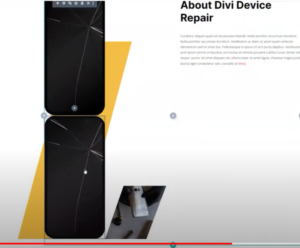
Now you can see here that this is a phone image because it’s a device repair Divi site. And now I can click on this again here and it’s going to open up all the images that we have loaded to the site.
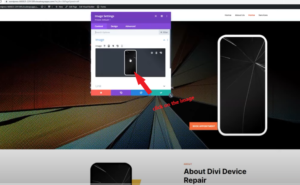
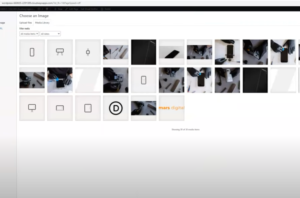
Now this pop-up section or the media library can be searched. You can insert from a URL if you know an image URL that you want to choose. Or you can just drag and drop or use the select files option.

So I am going to jump in and I’m going to just drag a few images in, that I have saved here. So let’s just drag in this one here. So this image is Play one. It’s used on the Mars Digital website. And I am now going to click this upload image and you can see here that it automatically replaced the one in the background. Right.

So let’s say this is actually perfect for what I want. But I like the fact that the previous image, if I undo it, how this has rounded edges and this is a transparent image. So now I want to add rounded edges to this image, which has sharp points. So I can drop into this here, which is design, and I can scroll down a bit to where we have this border.
And specifically, if I want to add a colored edge, for example, I can do that here. I’m going to add a border with that. You can see here. Let’s give it a green one so it’s really easy to see.
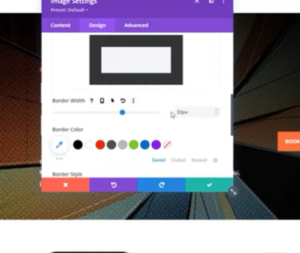
But if I don’t want to do that, I’m going to drop that back down to zero. This section here, rounded corners, that’s what I want. So I can click here and I can type a number of pixels if you know exactly what you’ve used elsewhere. Or I can just start clicking up. Or I can use this drag. Now, it’s currently on 10. You can see here there’s like rounded edges. But if I want to make that circle, I can keep going. You can see here that after about 200, it’s not going to get there. We go about 160, it’s not getting any more rounded. So we can leave it at that and we can tick the box.
So that’s made that square image a circle. All right. So that’s what we can do there. Now if I wanted to change out any other image, it’s the exact same process. I just click on the image I want, click on the cog, click on the image again and upload or choose the one I want to replace it. If I don’t like what I’ve done, I can always click the X. If I like what I’ve done, I can click the tick.
Now if I want to duplicate this image because I’m going to use it in another place, I can also do that. So again, click on the image and we’re going to click this option right here, which is the duplicate button. You can see here that it’s now been recorded twice. If I want to move it, I can just click on it and I can start dragging this around. And in fact, let’s scroll down and we’re going to throw it in above this one. Boom! So there it goes. And now I’m going to just delete that for whatever reason.
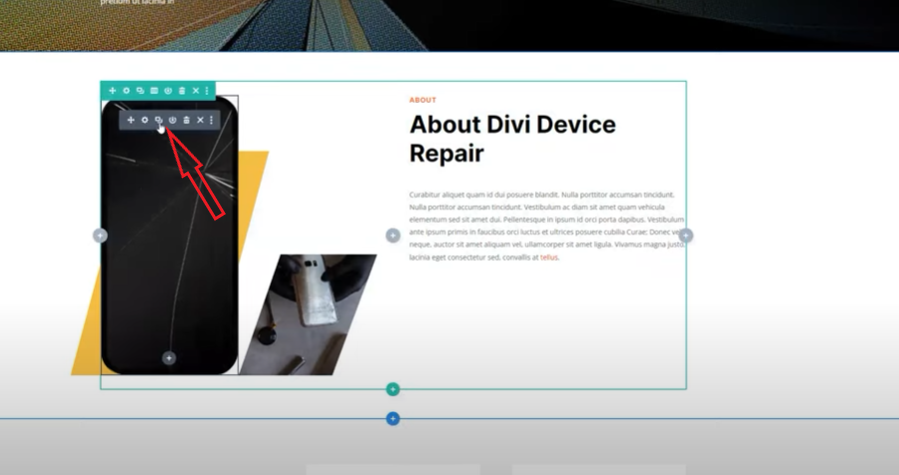
So now I’ve duplicated, I’ve moved my images around. This one here, that deletes it. So that’s how you edit and manipulate images.You will have ones like this occasionally, which are a little different. So that uses some positioning and so forth. I would suggest if we’ve done that as part of the design, that all you do is use the image section itself to replace things out.
So this one here is actually using an overlay that goes on top of a background image being that one. So that’s something else I’m just about to show you.
So in this section here, you can see that this blue section has an image background and that’s this hand with a screwdriver on the phone.
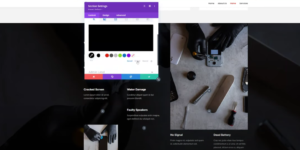
So if I click on the blue section and again I’m going to click on the Cog, which is the settings. And under background, we’ve got a few options here. So we’ve got a color. At the moment the color is set to black. We’ve got a gradient. So the gradient is basically just a way for you to do transparency or whatever gradient you’re after, really. And then under background image we have the actual image. And then you can see here that the background image blend is normal. I set that to multiply or overlay. You can see that it actually becomes a bit brighter just because of the color that we’ve got overlaid on top of it.
But if again I click on this image, I can replace that out and use upload image. And there you go.
Now the background image has been replaced. I can either undo or if I decide no, actually I do like it redo. No, I definitely don’t like it, close.
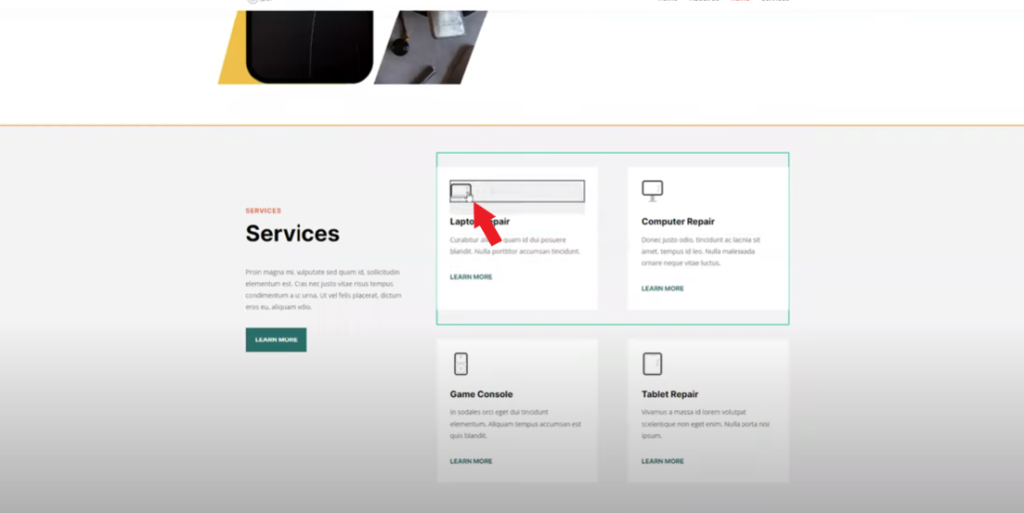
Icons like this are often used as images. So we can click on this, click the cog and you can see here image, click on that going to make that an Apple Watch. Boom! Laptop repair is now a watch repair.
And again, don’t forget the purple circle. Three buttons expand and save when you are done.


Then again, now that I’ve saved, when I click on Exit Visual Builder, I will not have any pop up saying that I need to click on it and either choose to save or revert back to what it was before I started editing. So that’s how you update images.
If you got any questions, please let us know. Throw it in the support request. We’ll come back to you as quickly as we can. Thank you.